
You can add images both as background images and as elements on your website. This can make your website more visually appealing and leave a greater impression on visitors.
Remember, when viewed on smaller devices such as tablets and phones, background images are cropped according to the device size, whereas images as elements are scaled according to the device size. Therefore, images best suited as backgrounds are those that are abstract or scenic in nature.
Insert image as background
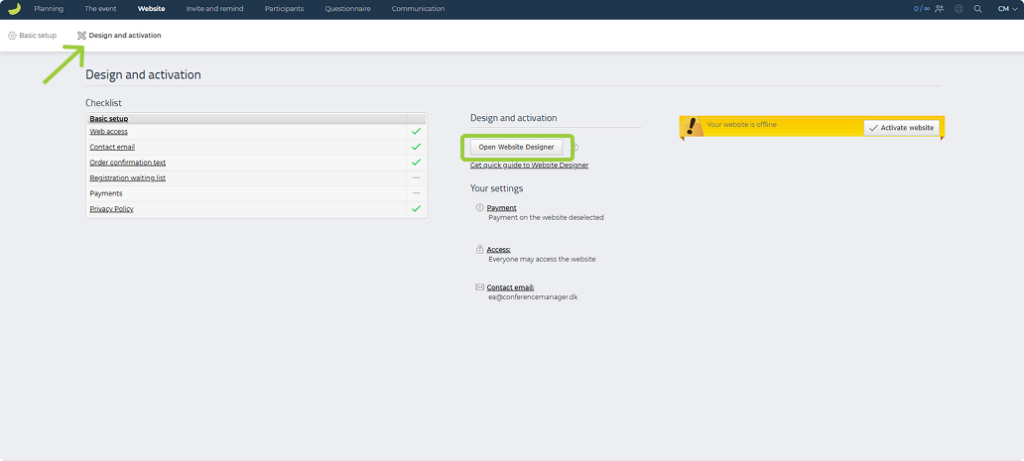
- Click on Website.
- Click on Design and activation.
- Click on Open Website Designer.
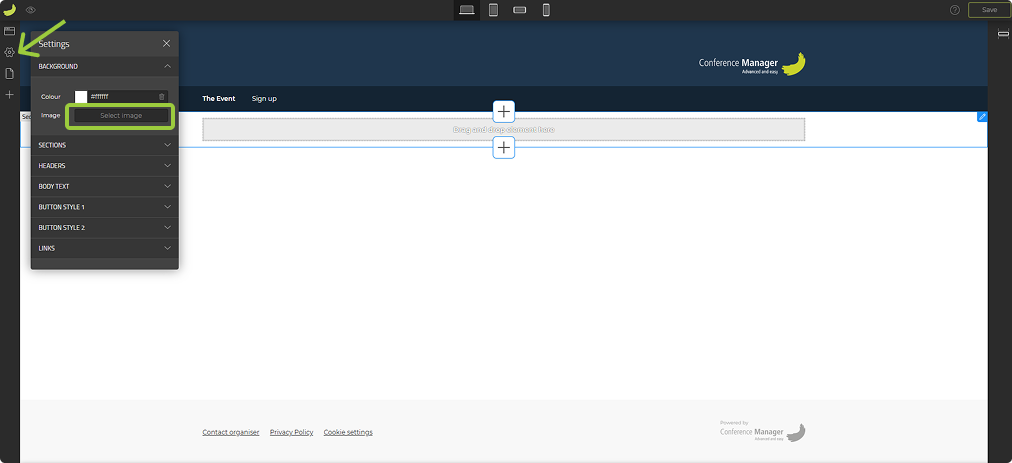
- Click on the Settings icon in the left sidebar.
Under Background, you can add either a background color or an image.
- Click on Select image
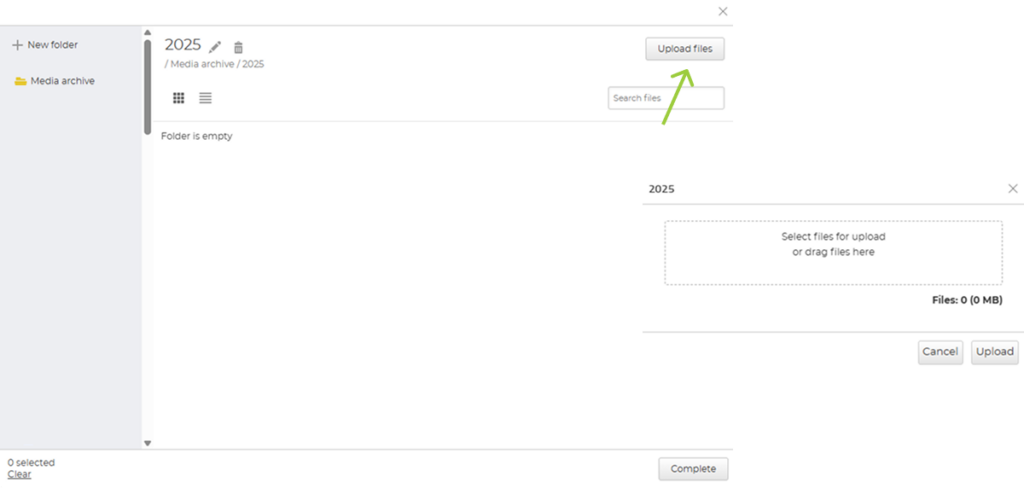
If you have not already uploaded your image to the media library, click on Upload files
- Click on Select files for upload or drag files here.
- Select the image from your file explorer.
- Click on Upload.
Now your image is in the media library and can be reused on other occasions.
- Click on the image in the media library so it has a green outline.
- Click on Complete.
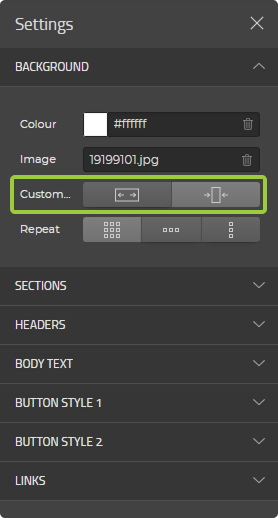
In the left sidebar, you can now adjust whether the image should fill the width or be limited in width. If the image size is small, you can also choose how it should repeat here. Remember to save your progress.
Insert image as background in section
If you want to use an image only as a background in a single section, you can also do this. Follow the same steps as above, but when you are in the Website Designer, select the section you want the image in.
- Click on the desired section.
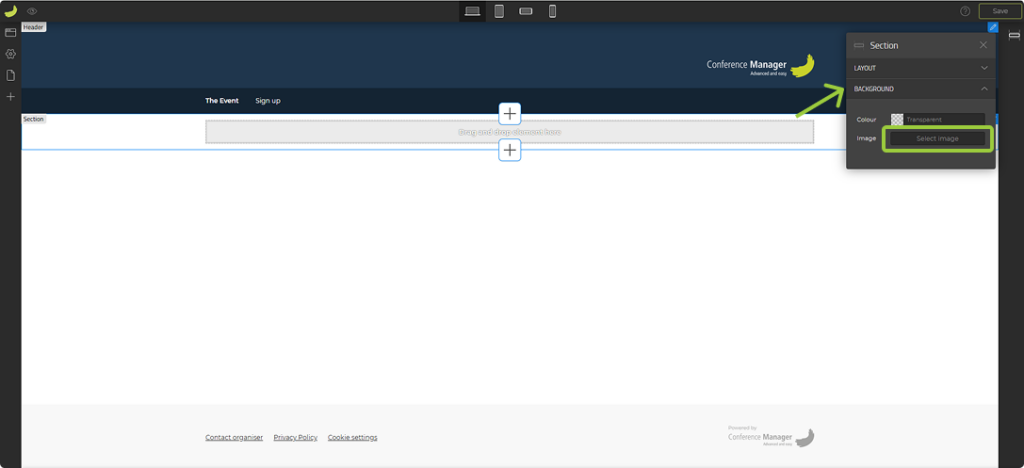
- In the right sidebar, you now have the Section toolbox.
- Expand the menu for Background.
- Click on Select image.
Then follow the same steps as above, selecting the image from the media library and adjusting the image to the section. Remember to save your progress.
Insert image as element
You can also insert an image as an element in the middle section or footer of your website. Images can also be part of columns if you for example want a setup with images and text side by side.
- Enter the Website Designer and go to the page where you want your image.
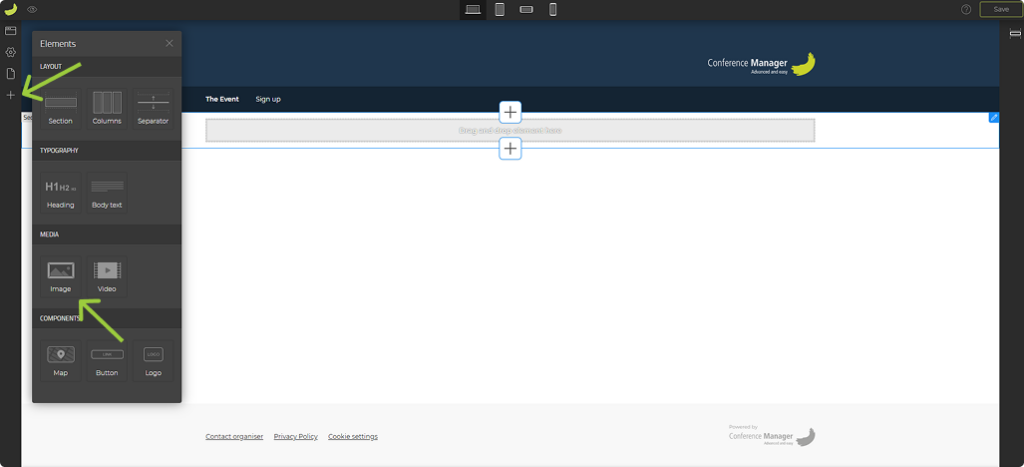
- Click on the icon for Elements in the left sidebar.
- Find Image under Media.
- Drag the element onto the page.
The element can only be placed in the dashed rectangles.
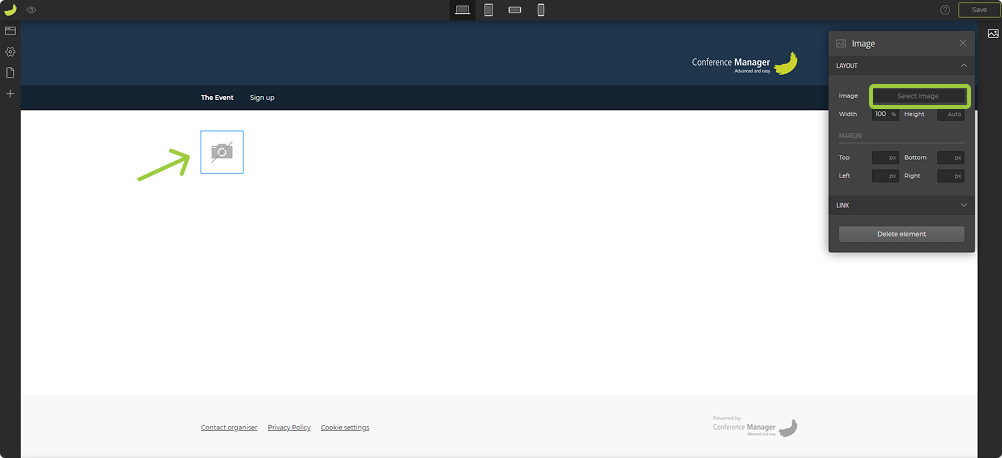
When you hold the element with the cursor and drag it onto the page, you can see by the cursor if you are placing the element correctly. If your cursor is red, it means you are not hitting a dashed rectangle. When you drop the element into a dashed rectangle, a camera icon with a line through it will appear. This is a placeholder where we now need to insert the image itself.
- Click on the element for Image, which is a camera icon.
- In the right sidebar, you have the Image toolbox.
- Click on Select image under Layout.
If you have not already uploaded your image to the media library, follow the instructions above.
- Select the desired image so it has a green outline.
- Click on Complete.
You can adjust the width and height of the image in the toolbox in the right sidebar, as well as the margins between the image element and other elements on the page. Remember to save your progress.