
You can create name tags in Conference Manager — for example, for conferences, seminars, or internal meetings.
You can either print them in advance, send them to your participants by email, or print them automatically at arrival with onsite print.
This article shows how to design the name tag, insert dynamic content, and deliver it to your participants by printing them in advance or sending them by email.
If you want to know more about onsite print, please contact us.
Create the name tag

- Go to Participants in the top menu.
- Click the Material tab.
- Click Create new material.
- In the new window, enter a name for your name tag.
- Under Type of material, select Name tag.
- Click Create to continue.
Insert content
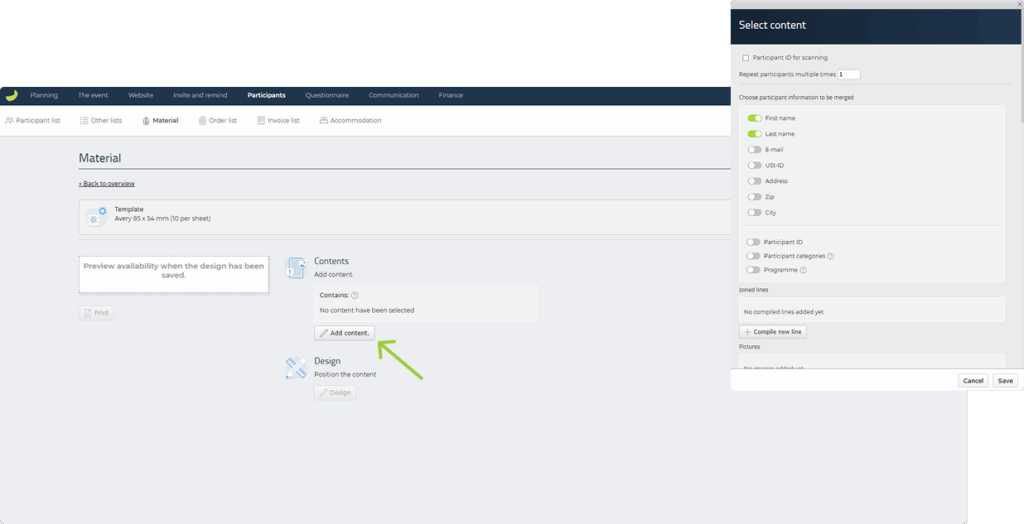
- Click Add content.
- In the Select content window, choose which information and content you want to appear on the name tag.
You can insert for example:
Participant information:
- First name, last name
- Company or organisation
- Participant category
- QR code (vCard or Participant ID)
- Country or city
Event information:
- Event name
- Event date or location
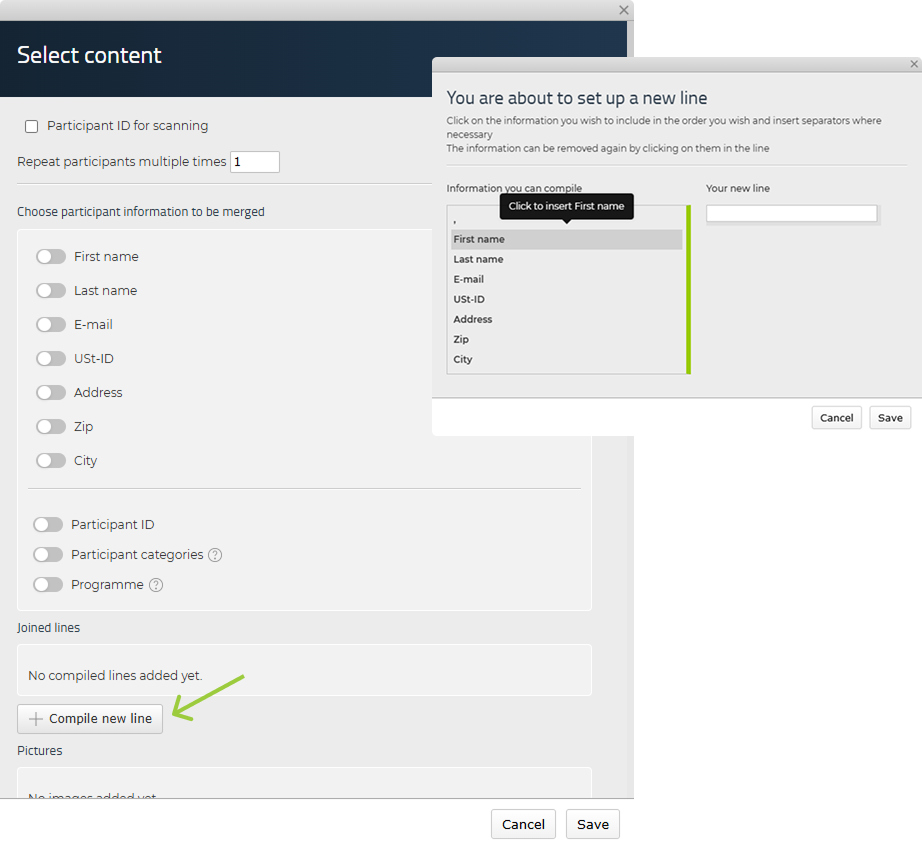
- Use Compile new line to combine fields such as first and last name.

- Use Add image to insert your logo or a custom background for the name tag.
Once saved, the content will appear in the editor.
Design and position the content
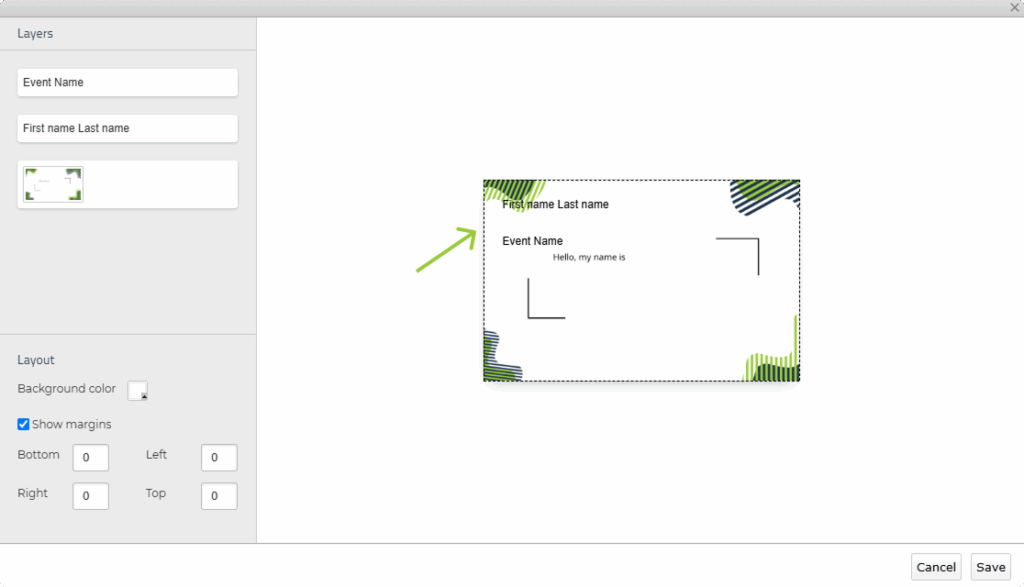
- Click Design to open the layout editor.
When you open the editor, the content will be placed in the corner.
You can now:
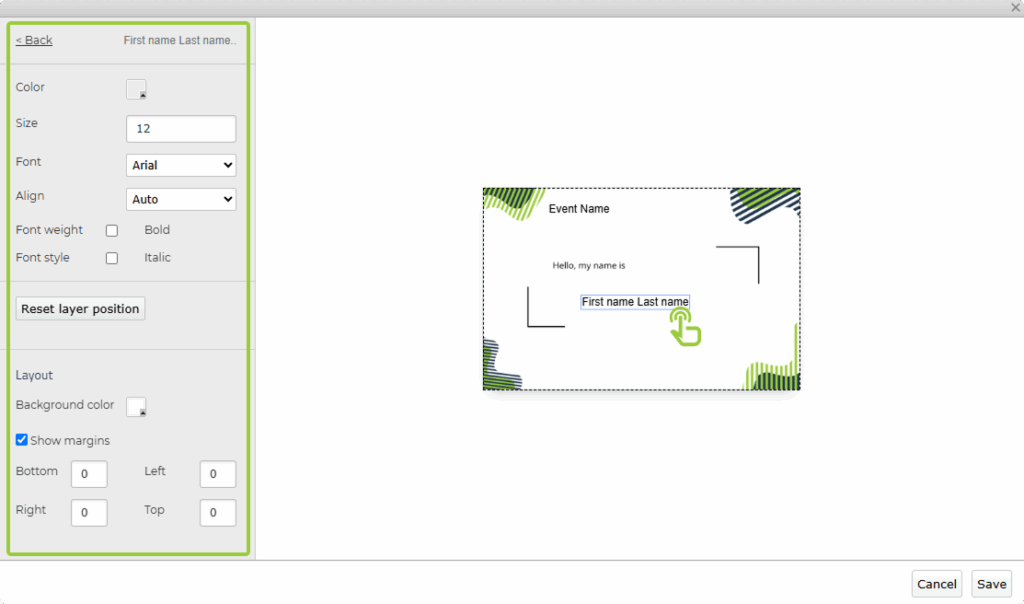
- Drag and place each element freely on the name tag canvas.
- Click any item (e.g. a name field) to open its formatting settings.
- Adjust font type, size, and colour if needed.
- Use the Align dropdown to position the element left, right, or centered.
- Use Show margins to define exact spacing from the edges — helpful for aligning fields.
- Click Back in the top left corner to exit the specific element and return to Layers.
- Use the Layers panel to manage overlapping elements:
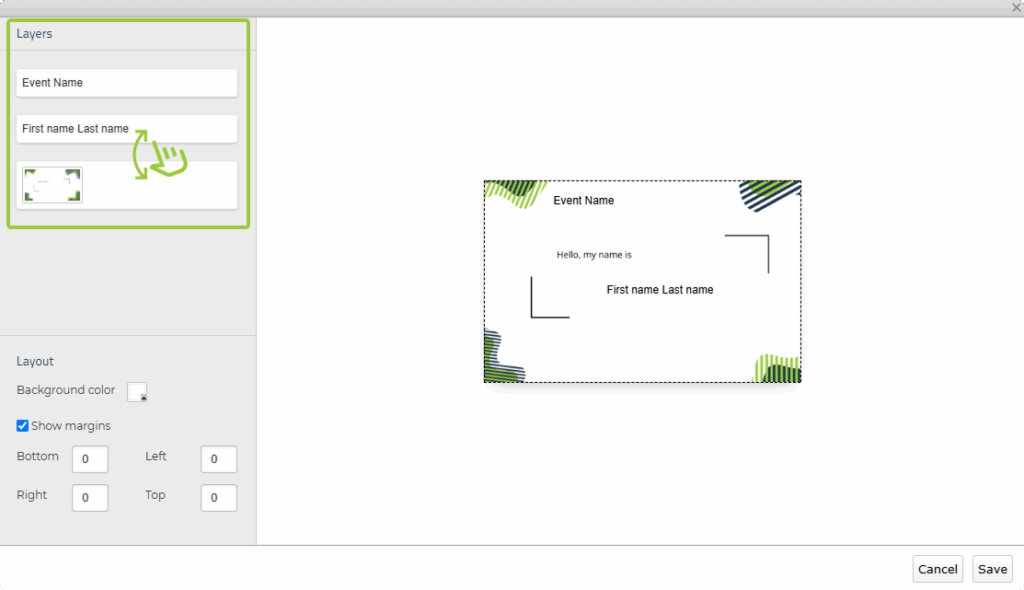
- Drag items up or down in the layer list to bring them in front or behind (for example, place participant names on top of a picture/background).
Click Save when finished.
Print or send the name tags
Once your name tag design is ready, you can either print it or send it by email — depending on your setup and preferences.
Option 1: Print the name tags in advance
- Go to Participants and Material.
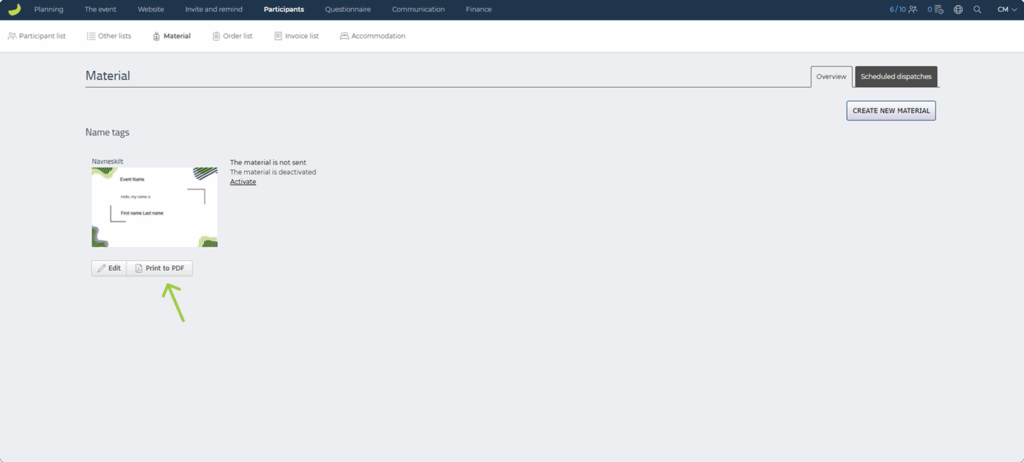
- Click Print to PDF below your name tag in the material overview.
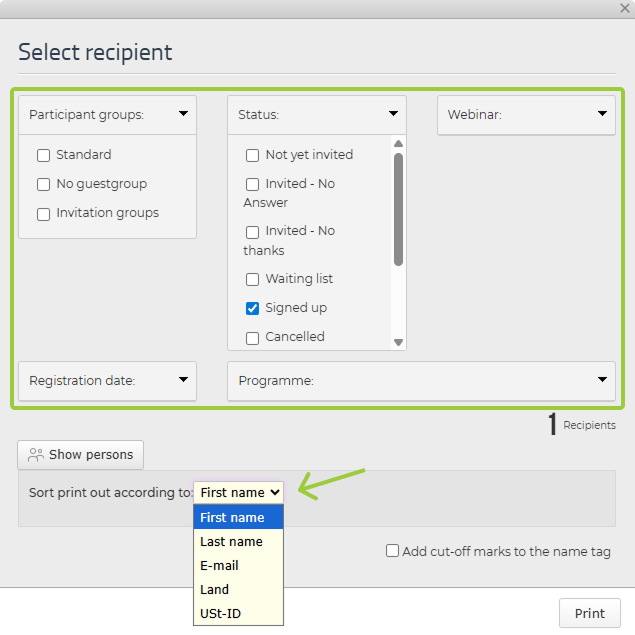
- In the Select recipient window, you can filter your recipients:
- Mandatory: Select Status (e.g. Signed up).
- Optional: Select e.g. Participant categories or Registration date.
- Choose how the name tags should be sorted (e.g. by First name or Company).
- Click Print to generate a print-ready PDF.
Option 2: Send the name tags by email
You can also send name tags to participants as downloadable files.
- Go to Participants and Material.
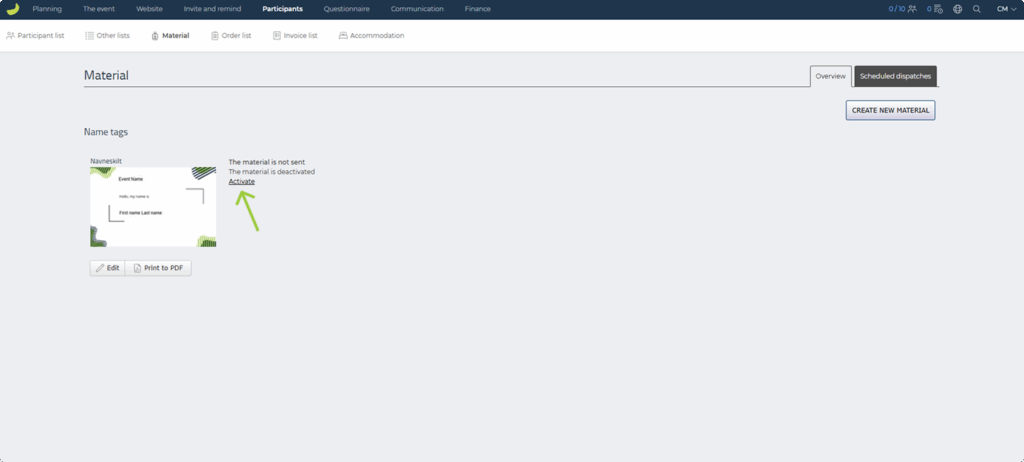
- In your material overview, activate the name tag.
- Click on the Scheduled dispatches tab.
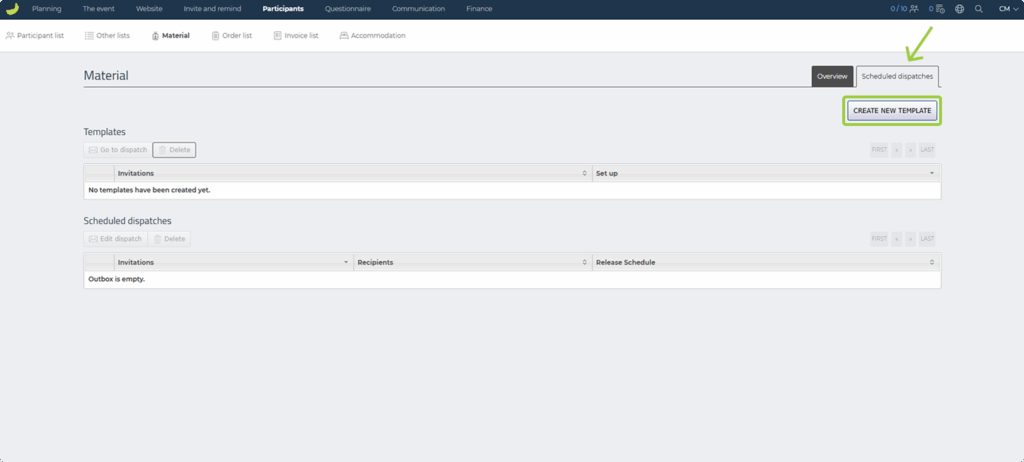
- Click Create new template to set up an email with your name tag.
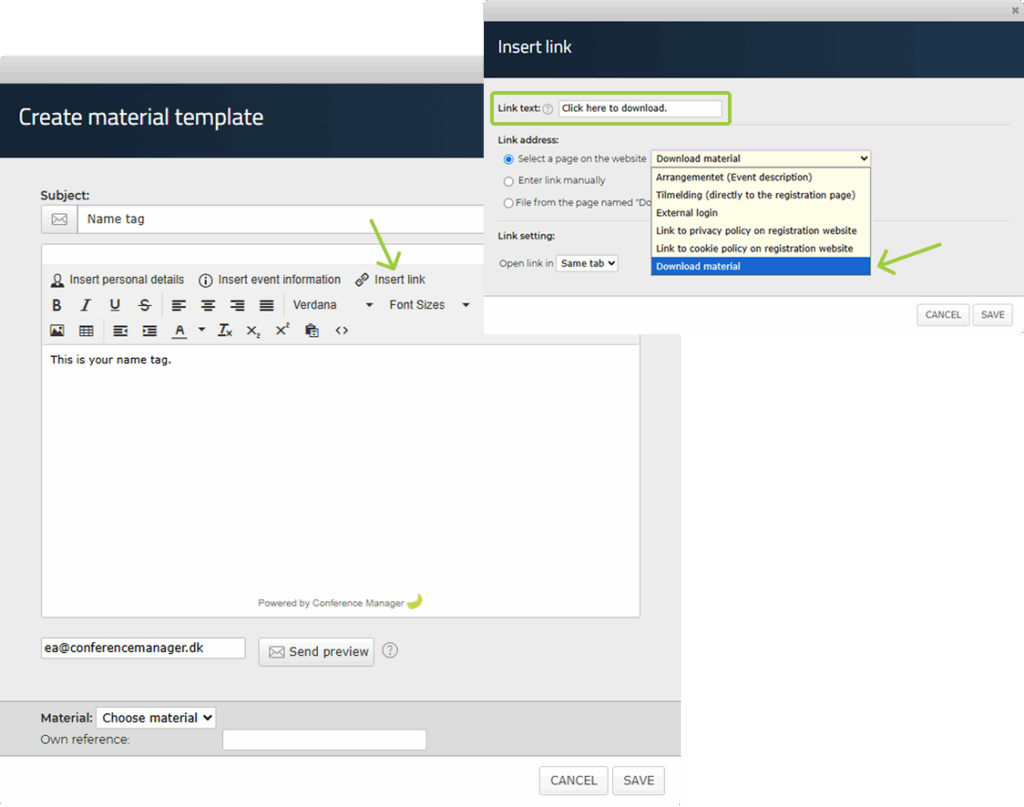
- Enter your subject and email message.
- Insert a download link for the name tag:
- Place your cursor and click where the link should go.
- Click Insert link in the toolbar.
- Under Link address, choose Select a page on the website, then select Download material from the dropdown.
- In the Link text field, enter the text that should appear in your email (e.g. Click here to download).
- Click Save to insert the link.
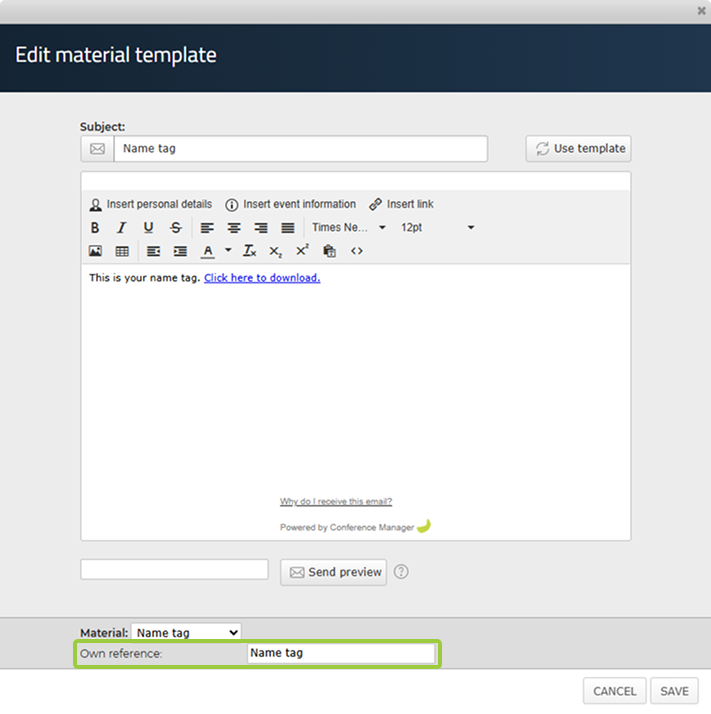
- Fill in the Own reference field (name for internal use).
- Click Save.
Your template will now appear under Templates.
To send the email with the name tag:
- Select the email under Templates so it turns green.
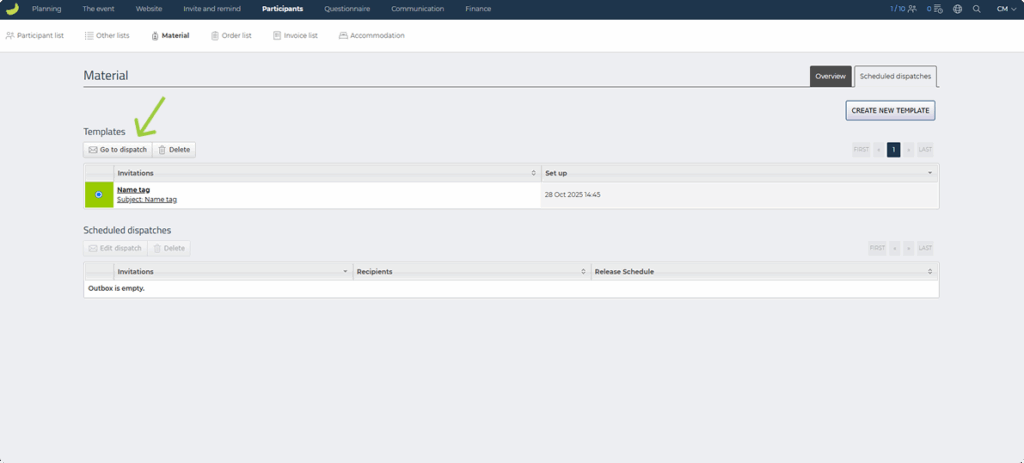
- Click Go to dispatch.
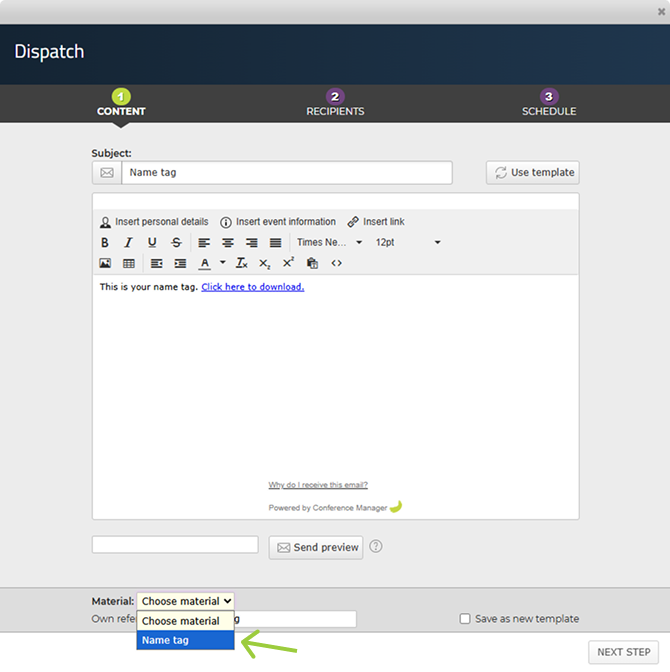
- At the bottom, select the relevant Material (if you have more than one).
- Click Next step.
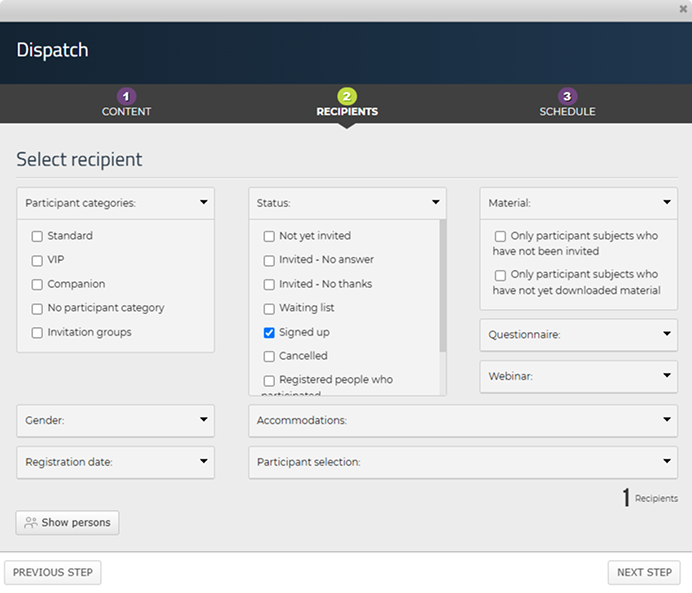
- In the Select recipient window, you can filter your recipients:
- Mandatory: Select Status (e.g. Signed up).
- Optional: Select e.g. Participant categories or Registration date.
- Click Next step.
Choose when the email should be sent
If you want to send it now:
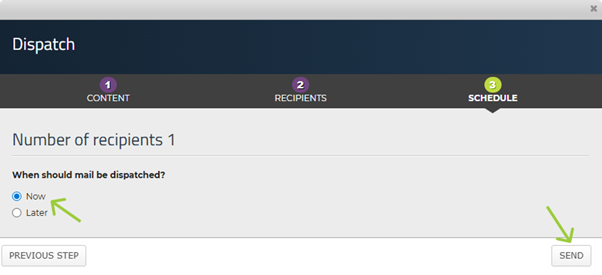
- Under When should mail be dispatched?, select Now.
- Click Send to deliver the email immediately.
If you want to schedule it:
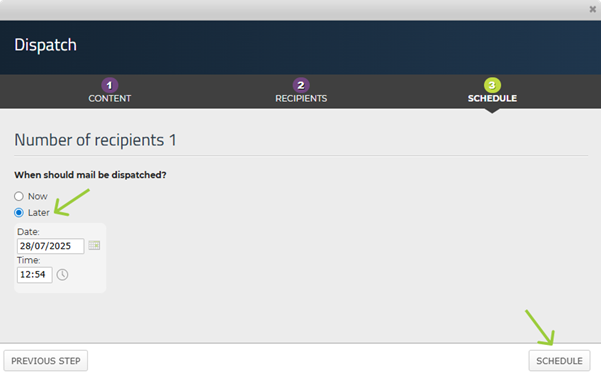
- Select Later and choose a date and time.
- Click Schedule to confirm.
Option 3: Onsite print or pre-print with CM Print
If you want to print name tags automatically when participants arrive at the event, you can use onsite print with CM Print.
With this solution, name tags are printed automatically when participants are checked in using the CM Exhibition app — as soon as their ticket is scanned, their personal name tag is printed.
In addition to onsite print, CM Print also offers pre-print, where we produce and deliver your name tags in advance. You can design the name tags yourself in Conference Manager, and we handle the professional printing and delivery in your preferred format and material – so you receive a finished result ready for use.
CM Print is an additional paid service available through Conference Manager.
Contact us if you wish to use it — we’ll help you set up the right printing solution for your event.