
Do you need an application process for your event? With an Upload Page, participants can submit documents like abstracts, applications, or legal files for review. You can then manage these submissions before opening official registration at a later point.
Create Upload page
- Click on Website.
- Click on Design and activation.
- Click on Open Website Designer.
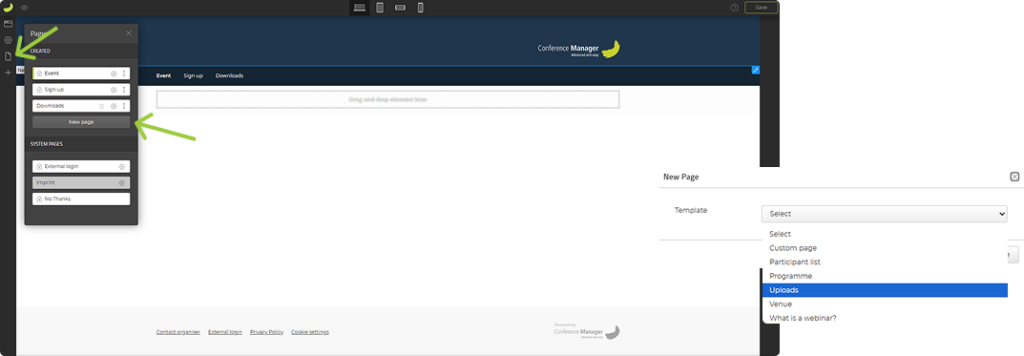
- Click on the Pages icon in the left sidebar.
You can now see all the existing pages on your website.
- Under Created, click on New Page.
- Select the Template Uploads from the drop-down menu.
Now you can edit the settings for the upload page.
Under Personal info, select the personal information you want to collect when participants upload their files.
- Check the boxes for the information fields you want to include on the upload page.
- Decide if duplicate entries should be allowed and whether fields are required.
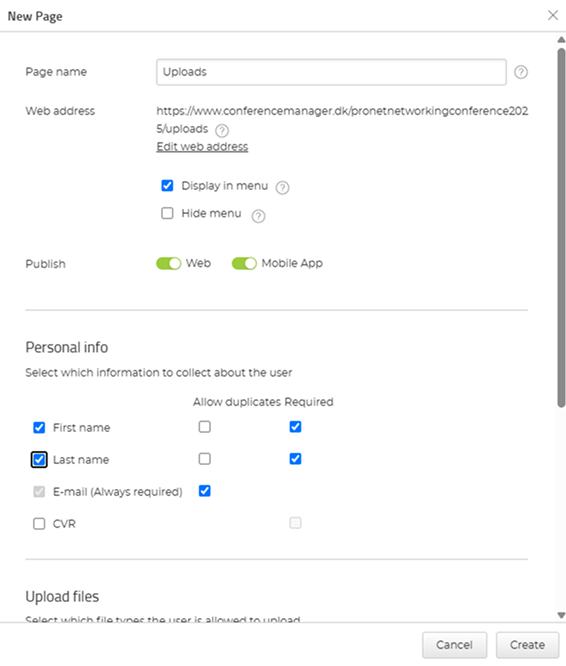
The available fields are based on your participant categories. To add more fields, return to your basic setup.
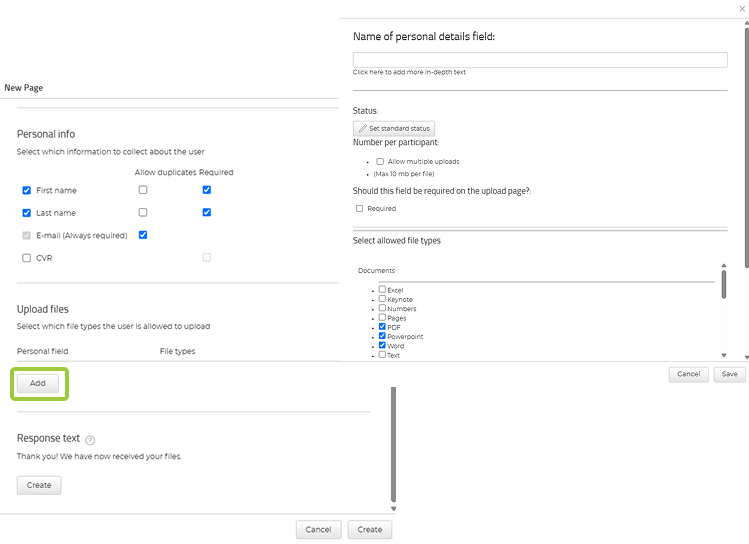
Under Upload files, you define the file types the user can upload.
- Click Add to add a file type.
- Insert a name for the personal details field, for example “Application” or “Abstract”.
- Under Status, you can give all uploaded files a standard status, for example “Not processed”. This can be useful later when managing the files.
- Adjust any additional settings under Number per participant and Should this field be required on the upload page?
- Select every type of document, graphics, and media file types you want to allow under Select allowed file types.
- Click Save, and finish by clicking Create.
The Upload Page is now created. You can edit the headline and body text on this page or add additional elements.
- Click Save in the top-right corner.
Manage the File list
When the users upload files, you can as admin manage them in the system:
- Click on Participants.
- Click on Other lists.
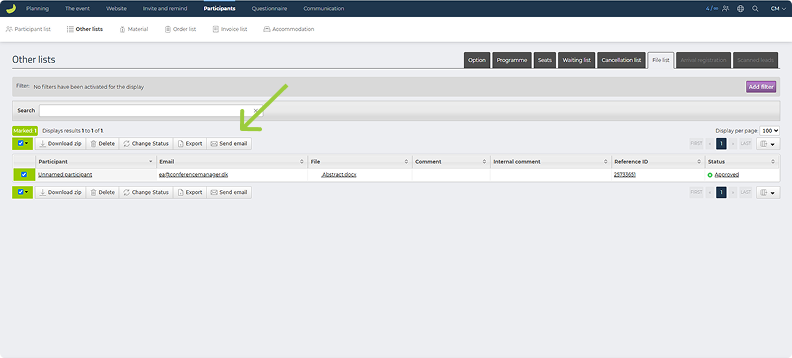
- Select File list in the tabs.
The table shows all participants who have uploaded files, along with their information fields.
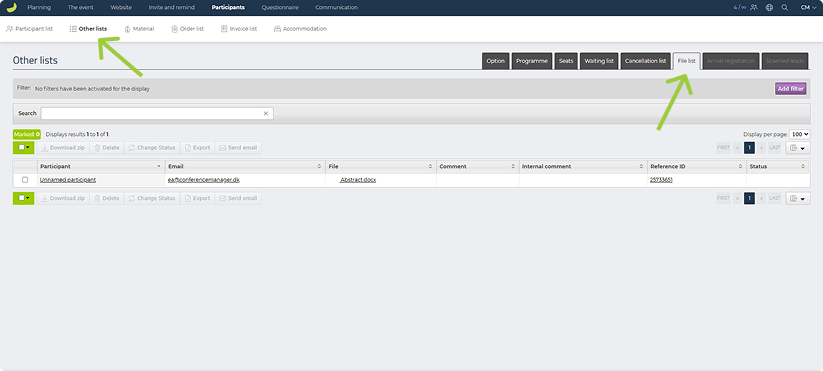
In the column File, you see your participants’ uploads.
- To view a single file, click on its name to download it directly.
- To download multiple files, select their checkboxes and click Download zip. Open the zip file to access the individual files.
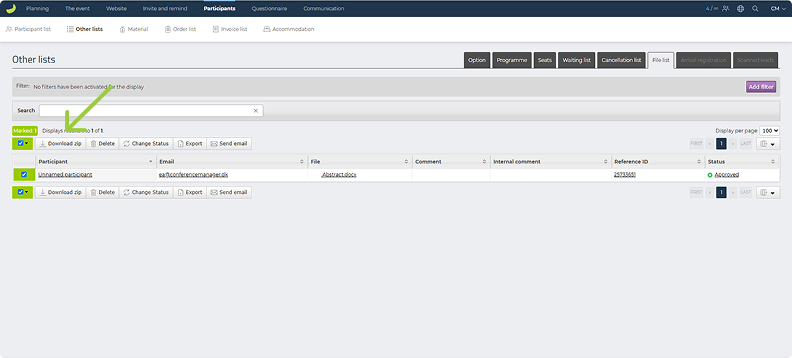
Once you have reviewed the files, you can update the status of the file uploads in the column Status:
- Select the checkbox next to the file you want to update.
- Click Change status.
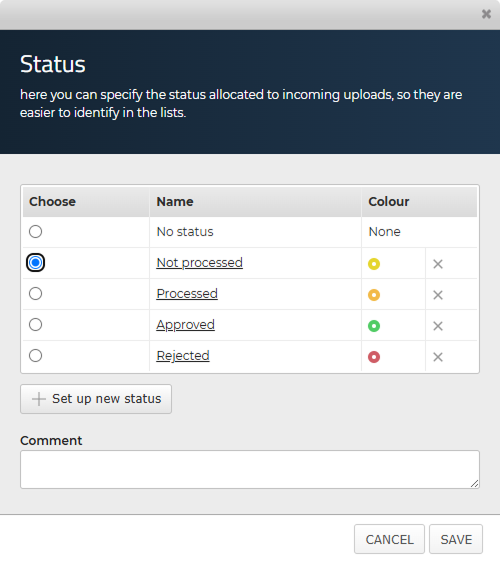
- Choose a status, for example “Approved” or “Rejected”, or create a custom status, and add a comment if needed.
- Click Save.
Create External logins for reviewers
If external reviewers need to access and review files, you can distribute the zip files yourself or create external logins for them.
If the External Login page is not activated on your website, read more here.
- Click on The event.
- Click External login.
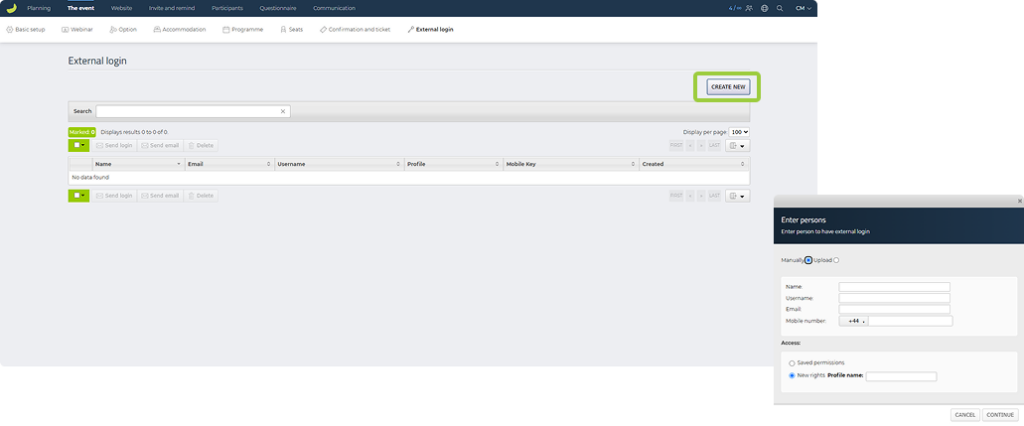
- Click Create new.
Insert a name, username, email address, and mobile number.
- Select New rights for this profile and name it for example “Upload review”.
- Click Continue.
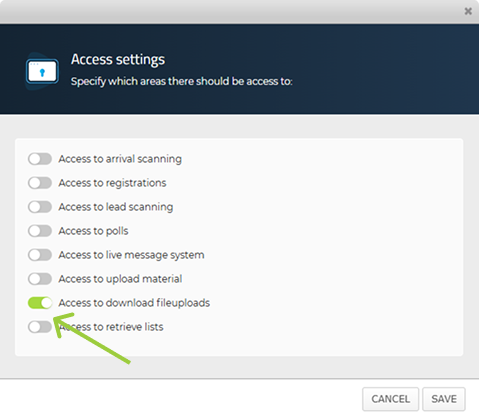
Under Access settings, you select the areas to which the reviewer should get access.
- Toggle Access to download file uploads.
- Click Save.
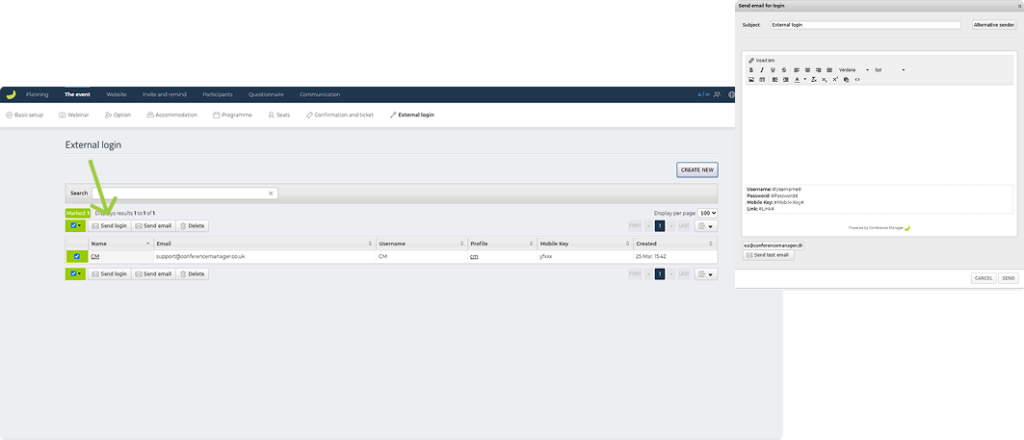
The external login is now created. You can now send the login information to the reviewer:
- Select the checkbox for the reviewer.
- Click Send login.
- Fill in a subject line and email text.
- Click Send and the login information is automatically added to the e-mail.
The reviewer will receive an email with the login information to access and review files. They can assign a status to the files, which you can view in the File list.
Invite to the event
Once the review process is complete, you can invite approved applicants.
- Click on Participants.
- Click on Other lists.
- In the Status column, view the status of the files.
- Select the checkboxes for participants, you want to invite.
- Click Send email.
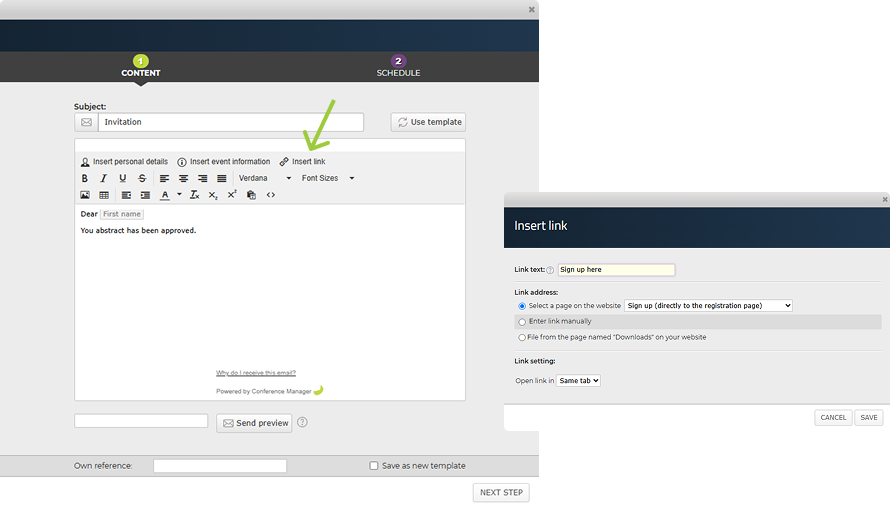
In the mail editor window, you can now fill out the subject line and text.
- Click with the mouse where you would like the sign up link to go.
- Click on Insert link.
- Fill out the link text, for example “Sign up here”.
- Under Link address, select the page Sign up (directly to the registration page) or another page you prefer.
- Click Save and Next Step when you are ready for dispatch.
- At the second step, choose when the mail should be dispatched and click Send.
Now the approved file uploaders can register for your event and they will appear on the participant list.