
In the Website Designer, you can add different types of elements to build and customize your website — such as text, images, videos, buttons, or columns. Elements allow you to structure your content visually and create a layout that fits your needs.
Click here to read more about how to insert images in the Website Designer — as a background for the website, a background for a section, or as an image element.
Click here for an overview of the recommended image sizes in Conference Manager.
Insert an element
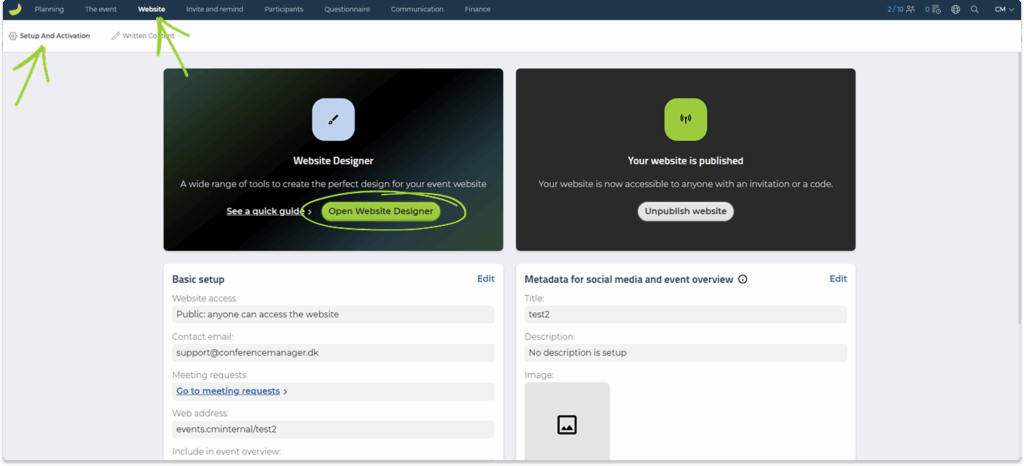
- Go to Website and Setup and activation.
- Click on Open Website Designer.
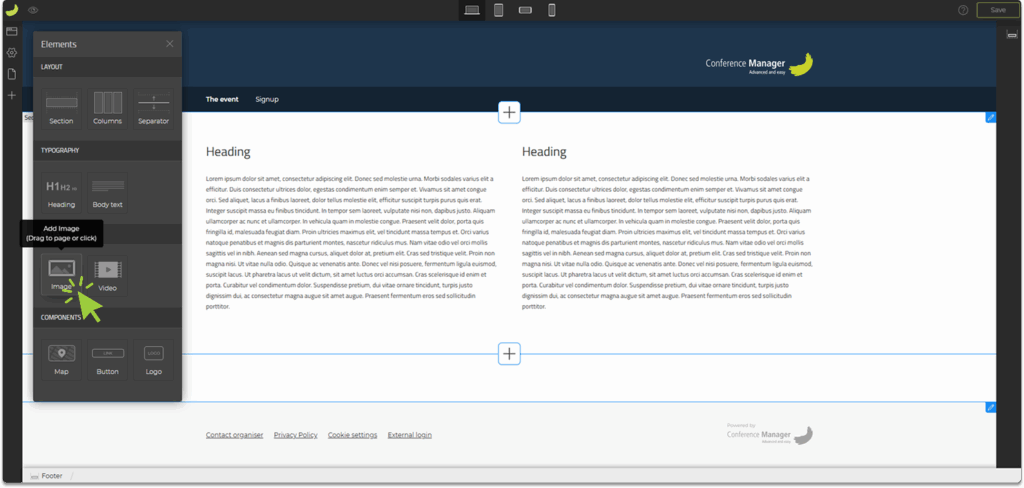
- Click on the Elements icon in the left sidebar.

Here, you can see different element types divided into the categories Layout, Typography, Media, and Components.
- Find the element you want to insert — for example Heading, Image, Button, or Columns.
- Hold down the mouse button and drag the element onto the page.
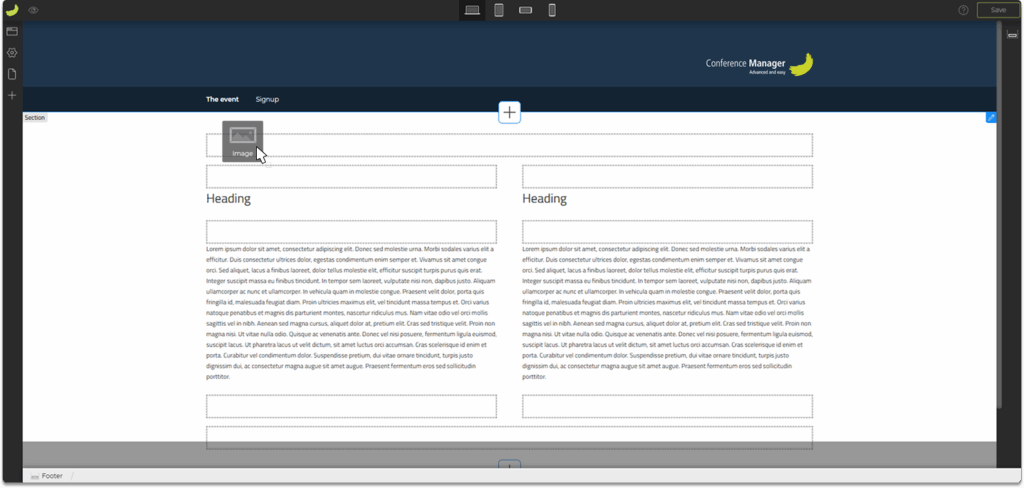
Elements can only be placed inside the dashed rectangles.
When you hold the element and move it onto the page, you can see from the cursor whether you are placing the element correctly:
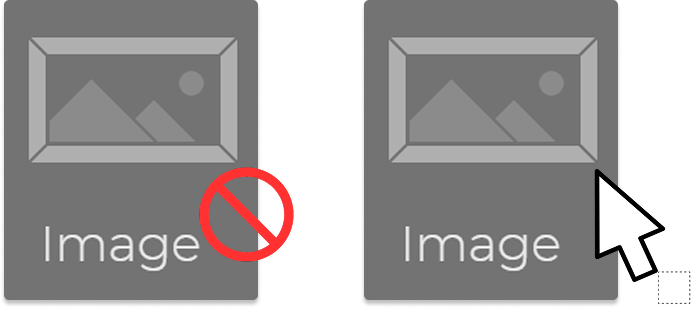
- If your cursor is a red circle, it means that you are not hitting a dashed rectangle.
- If your cursor is white (normal) and a dashed square shows below it, you can place the element there.
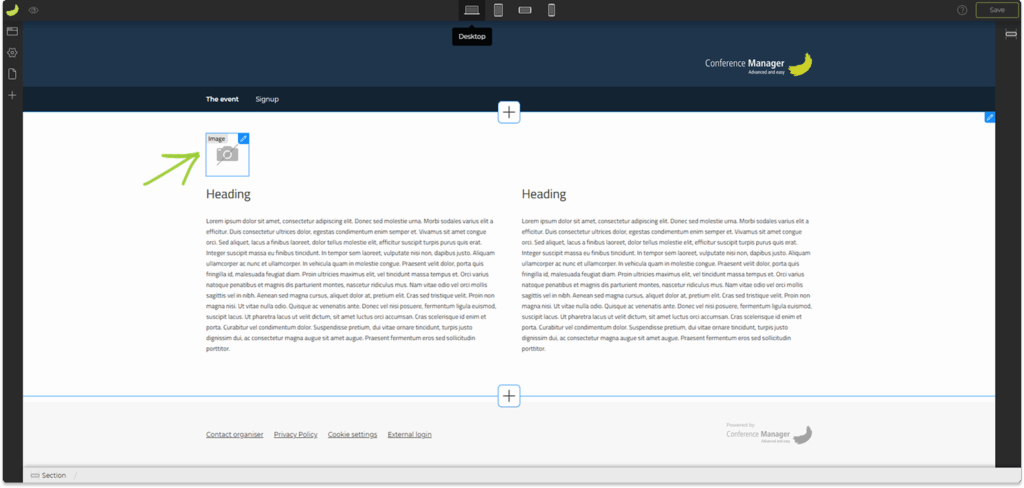
Release the mouse button when the cursor is normal — the element will now appear on the page:
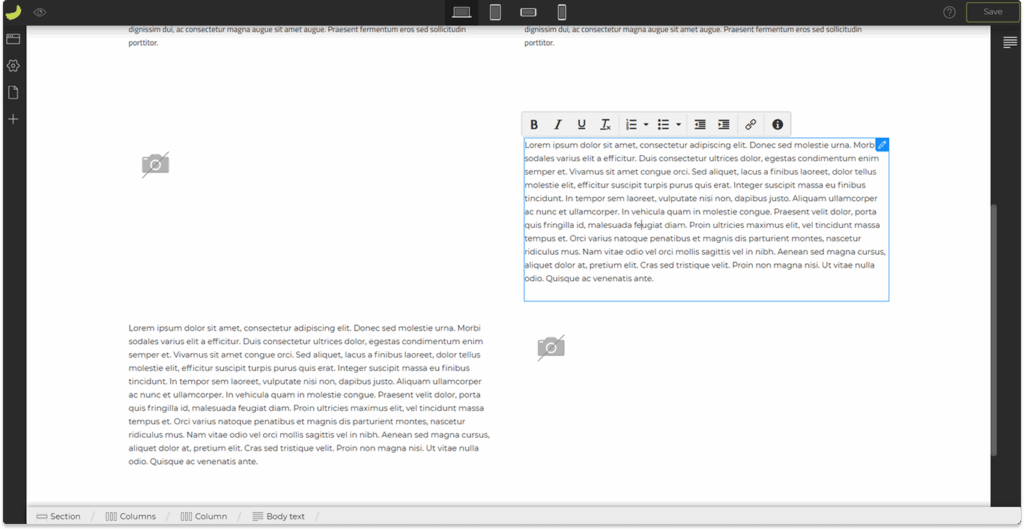
Edit the element
Once the element has been placed, you can edit and customize it using the toolbox in the right sidebar.
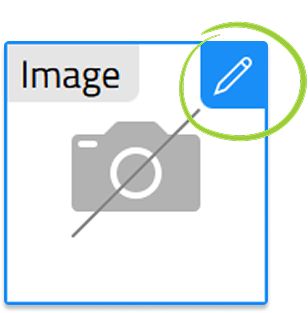
Click on the Edit icon (✏️) on the element to open the toolbox.
The available settings depend on the type of element — for example, for a text element you can adjust the font and size, and for an image element you can change width, height, and alignment.
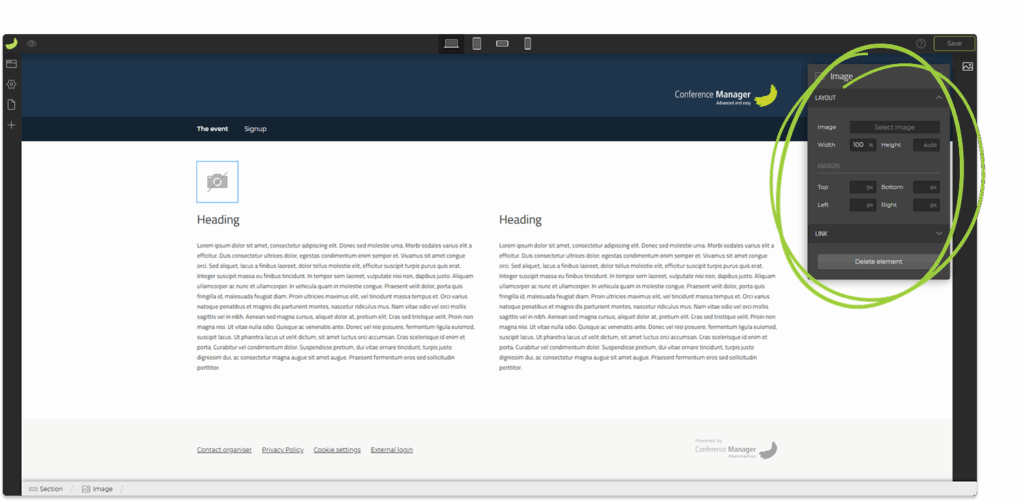
- Click on the element you want to edit.
- Adjust the settings in the toolbox on the right.
- Remember to save your progress regularly.
Available elements
You can combine different types of elements to build your website layout.
Below is an overview of all element types available in the Elements panel.
Layout
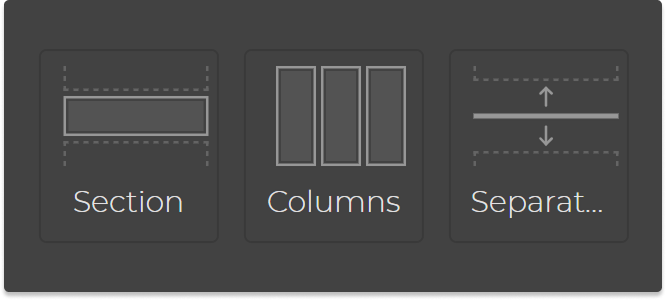
- Section – divide the page into horizontal areas. Each section can have its own background color or background image.
- Columns – divide the content inside a section into multiple vertical columns.
- Separator – add a thin line to visually separate elements or sections.
Typography
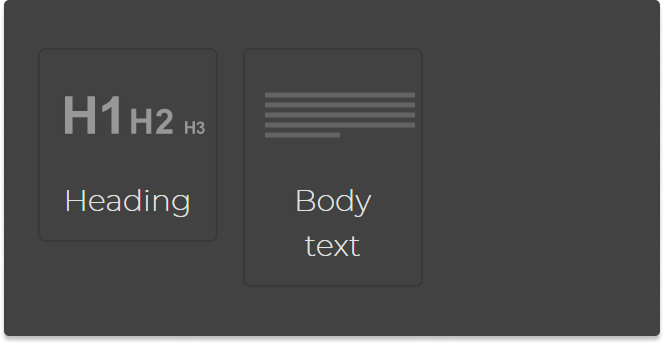
- Heading – add headings in different sizes (H1, H2, H3, H4).
- Body text – insert longer text blocks or short descriptions.
Media
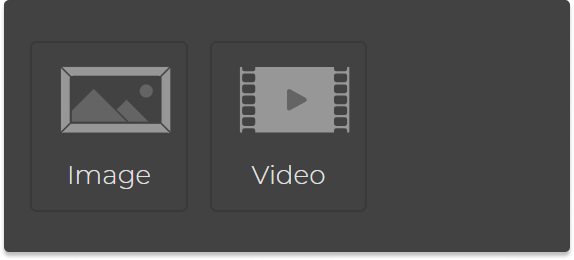
- Image – add an image from your media library.
- Video – embed a video (from the supported hosts YouTube or Vimeo).
Components
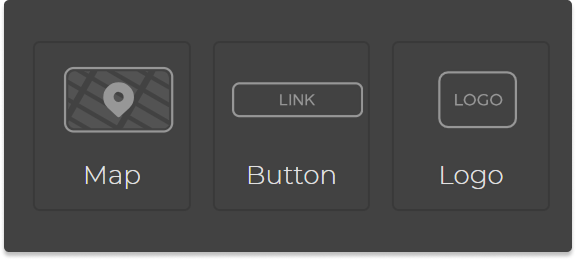
- Map – display a map based on the address entered as your event location. You can also manually enter a different address directly in the Map toolbox.
- Button – add a clickable button linking to a page on your website or to an external page.
- Logo – insert your event logo. The logo element can only be placed in the header area if you do not already have one there.
Tip: If you want to move an element, you need to delete it and place it again in the new position.
Working with columns
You can use Columns to organize content side by side — for example, text next to an image or several features in a row.
To add columns:
- Click the Elements icon in the left sidebar.
- Under Layout, drag the Columns element onto the page.

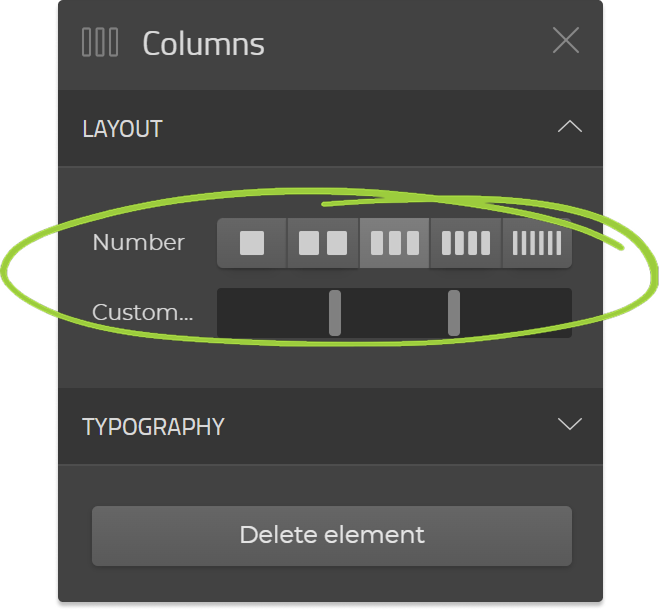
- Under Layout in the Columns toolbox, choose the number of columns you want (for example 2, 3, or 4), and adjust how much space each column should take up using the Customize slider.
Inside each dashed rectangle, you can now drag in other elements — such as Headings, Text, or Images:

Each column works as an individual area where you can place and format content separately.
If you want to delete the columns, click on them and select Delete element in the toolbox.
Insert predefined sections
You can also add ready-made content sections in the Website Designer.
Each predefined section already contains elements arranged in a balanced layout, so you don’t have to build it from scratch.
To insert a predefined section:
- Hover your mouse between two sections on the page.
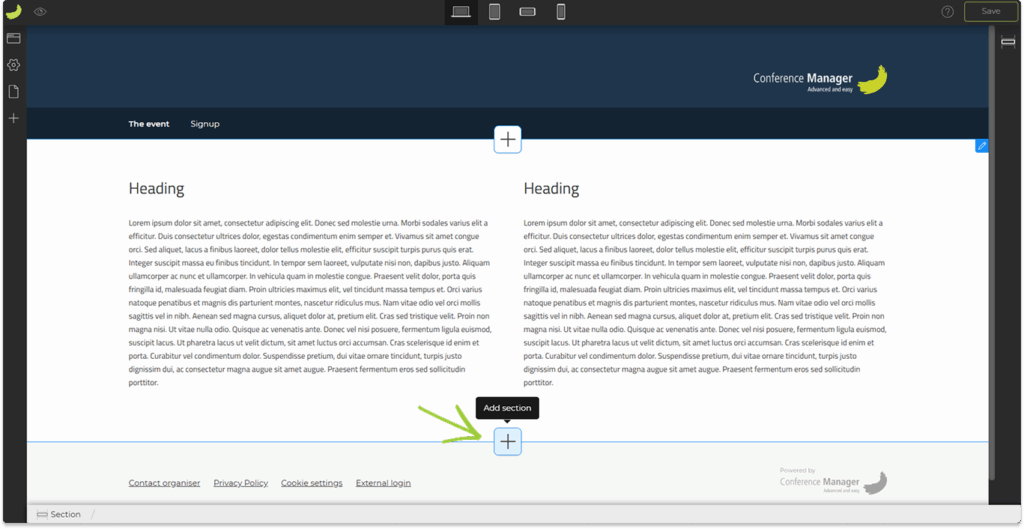
- Click the plus icon (➕) that appears.
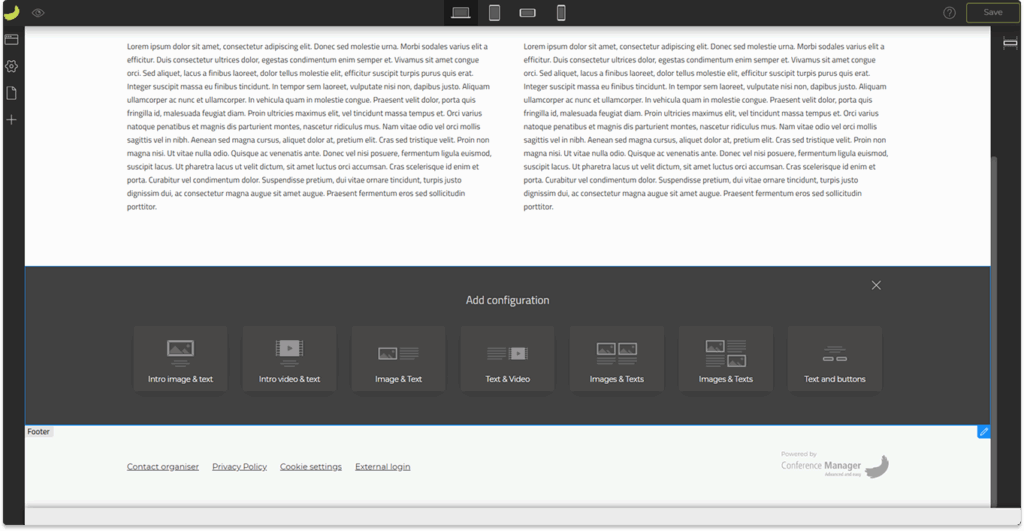
- Select one of the available configurations — such as Intro image and text, Text and video, or Text and buttons.
- The selected section will be added to your page. You can then replace the example content with your own text, images, or videos etc.
Global settings
Click on the Settings icon (⚙️) in the left sidebar to open the global settings for your website.
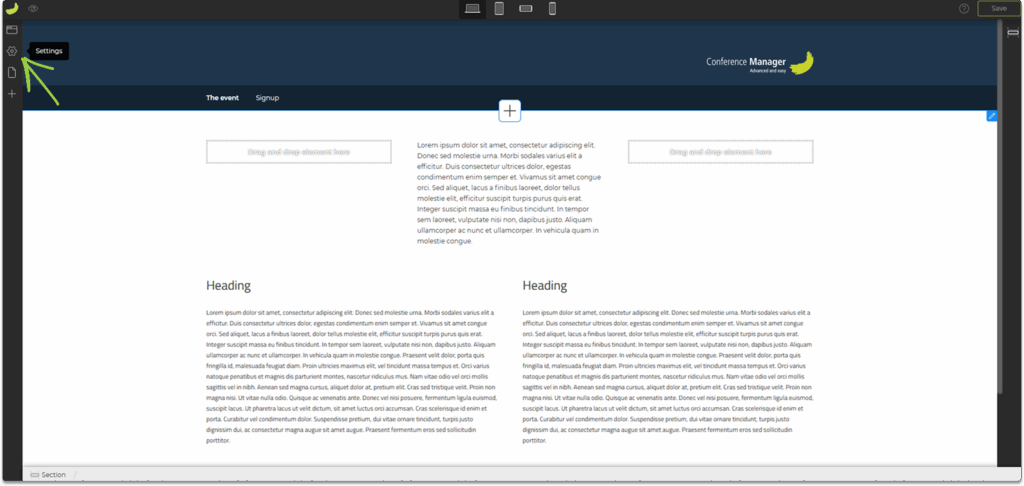
Here, you can define the default styles for headings, body text, buttons, and links.
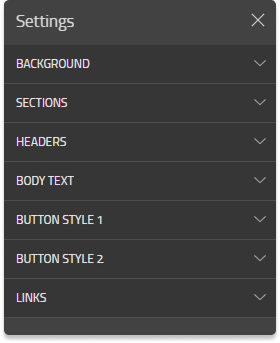
These settings apply across your entire website — including the registration page.
For example:
- Under Headers, you can set the default font, size, and color for all headings (H1–H4).
- Under Body text, you can define the general font style and paragraph spacing.
- Under Button Style 1 and Button Style 2, you can set the default appearance of your buttons.
- Under Links, you can choose the color and hover behavior for hyperlinks.
When you insert a new element such as a heading or body text, it automatically uses these default styles.
However, you can still edit the specific element later in the element toolbox if you want it to look different from the standard settings.