
You can allow a waiting list for your event, making it possible for people to join the waiting list when your event is sold out. People on the waiting list can then be offered a seat automatically or manually when spots become available.
Enable the waiting list
You can enable the waiting list in your basic setup.

- Go to The Event and Basic setup.
- Click Edit on the section called The event.
- Under Waiting list, select Allow registration on waiting list.
- Under Send seat reservations, choose either:
- Automatic – the system sends a reservation immediately when a spot opens.
- Manual – you control when invitations are sent from the waiting list.
- Choose Duration of seat reservation (e.g. 1 day).
- Click Save.
Manage the waiting list
When people join the waiting list, a number appears by the waiting list icon on your event in the top right corner of the screen to indicate new entries.
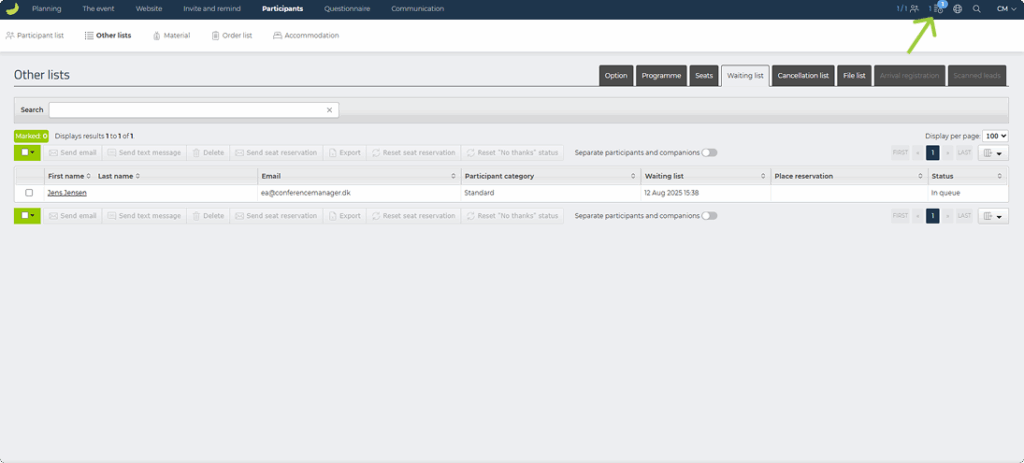
You can click the icon to go directly to the waiting list, or:
- Go to Participants , Other lists and Waiting list.
Automatic reservations
If you have set Send seat reservations to Automatic, the system will send a seat reservation as soon as a spot becomes available.
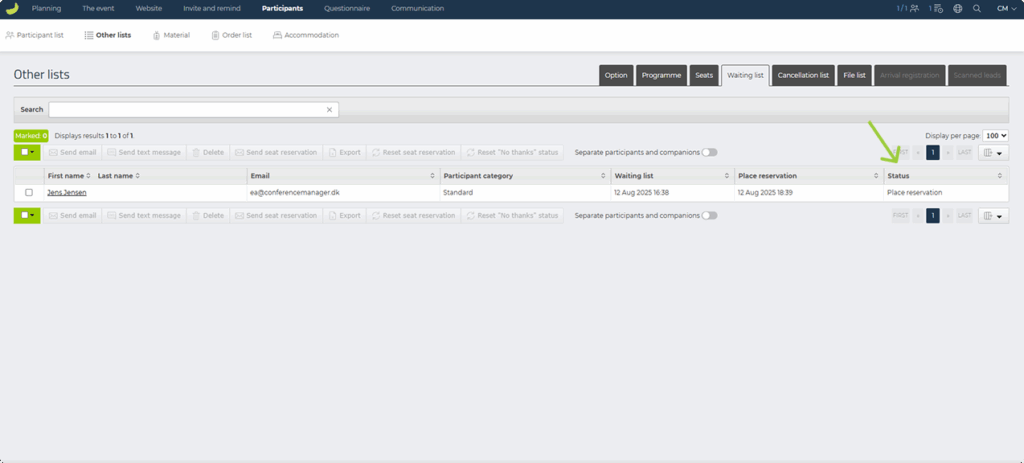
- You can see who has received a reservation under the Status column.
- When a person completes their registration, they will automatically be removed from the waiting list and added to the participant list.
If a person with a seat reservation does not register within the reservation period, their spot will be released to the next person in line.
Manual reservations
If you have set Send seat reservations to Manual, you need to send reservations yourself:
- Go to the Waiting list.
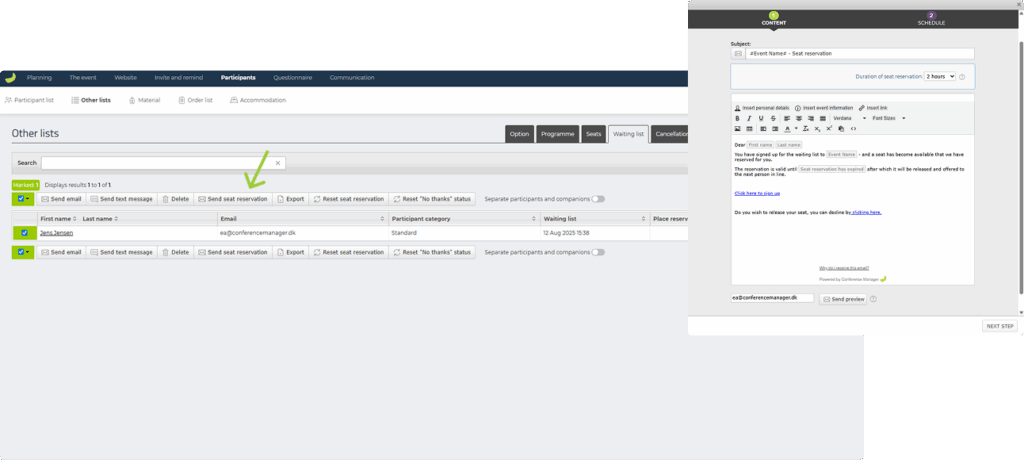
- Tick the checkbox next to the person you want to send a reservation to.
- Click Send seat reservation.
- In the pop-up, confirm the Duration of seat reservation and edit the email content if needed.
- The default email will automatically include personal details, event information, and the reservation deadline.
- You can change the text, add links, or adjust formatting before sending.
- Click Next step to choose when the email should be sent — immediately or scheduled for a later time.
- Confirm to send the invitation.
The person will receive the email with a link to complete their registration. If they do not register within the reservation period (check Status), you can send a seat reservation to another person on the waiting list.
Important to note
If a person does not complete their registration before the seat reservation expires and you wish to give them more time, you cannot simply resend the same reservation email.
Instead you have to:
- Tick the checkbox next to the person and click Reset seat reservation and then send a new seat reservation manually. This will allow you to exceed the event’s capacity if another person has accepted a reservation and registered in the meantime.
- If you have Send seat reservations set to Automatic, you can temporarily change to Manual, wait until a spot becomes available, and then send the reservation to the person again.